Tony Xu, Technician & Contributor at Dental Laboratorio
In modern dentistry, the success of a prosthesis—whether a crown, bridge, veneer, or implant abutment—hinges on the material selection. The choice of material impacts not only the aesthetics and durability of the restoration but also its biocompatibility, functional performance, and longevity. For dental professionals and students, understanding the rationale behind material selection is crucial for delivering optimal patient outcomes.
This article explores:
The selection of materials is guided by anatomical, functional, and biological requirements. Below is a breakdown of common materials and their clinical applications:
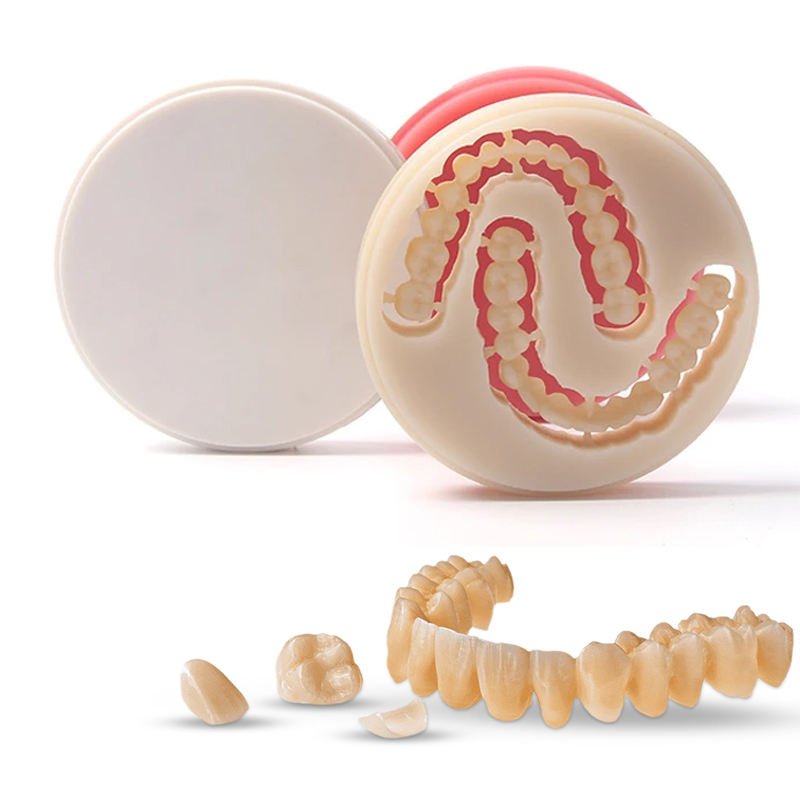
Materials: PMMA (Polymethyl methacrylate), Bis-Acryl Composites Clinical Use: Temporary crowns, bridges, and healing abutments. Why?
Clinical Case: A patient requires a temporary crown while waiting for a zirconia restoration. PMMA is milled using a dental lab milling machine, ensuring a precise fit and occlusal harmony.
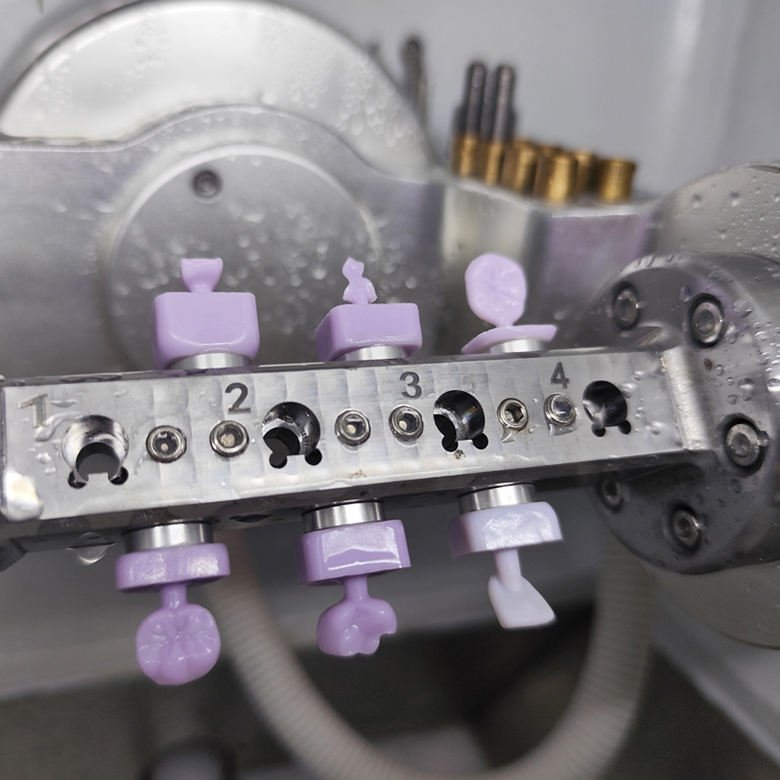
Clinical Use: Anterior crowns, veneers, inlays/onlays. Advantages:
Clinical Case: A patient with a fractured incisor receives a lithium disilicate crown. The material’s translucency blends seamlessly with adjacent teeth, while its strength ensures long-term durability.
Clinical Use: Posterior crowns, bridges, implant abutments. Advantages:
Clinical Case: A bruxism patient requires a molar crown. Zirconia is selected for its wear resistance and ability to withstand grinding forces.
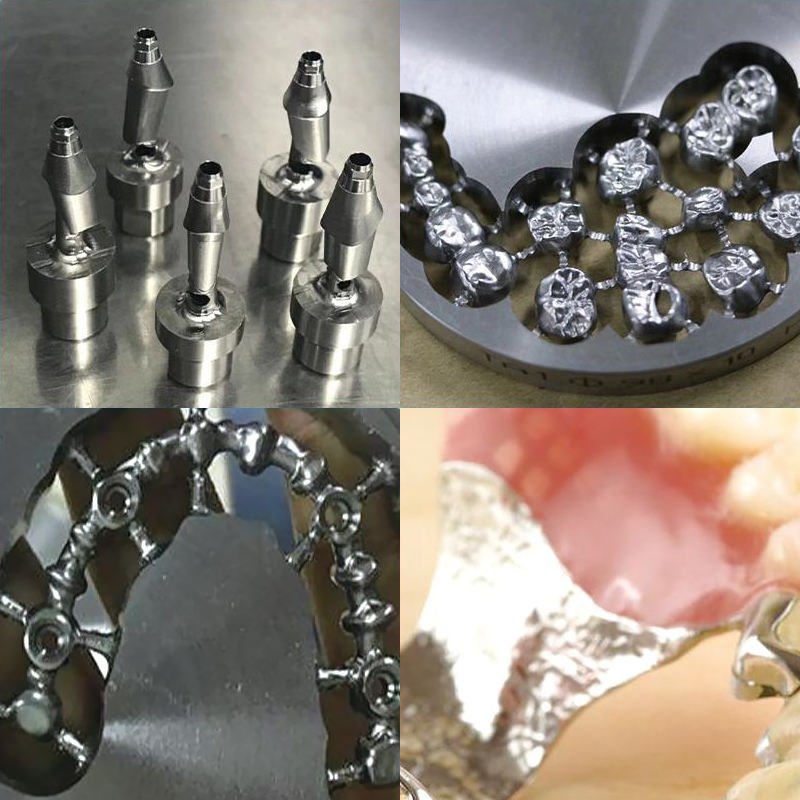
Clinical Use: Implant abutments, posterior bridges. Advantages:
Clinical Case: A patient receives a titanium implant abutment. The material’s biocompatibility promotes healthy gum attachment, while its strength supports the final crown.
Clinical Use: Removable partial dentures, healing abutments. Advantages:
Clinical Case: A patient with a thin alveolar ridge receives a PEEK-based removable partial denture. The material’s flexibility and biocompatibility improve retention and comfort.
The fabrication process relies on advanced dental lab equipment and precision tools, such as dental milling burs, to achieve optimal results.
Note: The selection of dental milling burs directly impacts the surface quality and fit of the final restoration.
Material Selection for Dental Prostheses
| Prosthesis Type | Recommended Materials | Key Clinical Considerations |
|---|---|---|
| Temporary Crowns | PMMA, Bis-Acryl Composites | Ease of adjustment, biocompatibility |
| Anterior Crowns/Veneers | Lithium Disilicate | Aesthetics, minimal prep, translucency |
| Posterior Crowns/Bridges | Zirconia, Cobalt-Chrome | Strength, wear resistance, occlusal stability |
| Implant Abutments | Titanium, Zirconia | Osseointegration, gum health, precision fit |
| Removable Dentures | PEEK, PMMA | Lightweight, shock absorption, patient comfort |
Milling Burs and Equipment by Material
| Material | Recommended Milling Bur | Lab Equipment |
|---|---|---|
| Zirconia | Diamond-coated carbide endmill | CAD/CAM milling machine |
| Lithium Disilicate | Diamond-grit stainless steel bur | CAD/CAM or pressing furnace |
| Titanium/Cobalt-Chrome | ALNOVA-coated carbide endmill | High-speed milling machine |
| PMMA | CrN-coated bur | Standard milling or 3D printer |
Various of custom-abutment, crowns, bridges, tray are fabricated via the titanium blocks in laboratory.
Veneers are fabricated in laboratory using the CAD/CAM Lithium Disilicate blocks via the wet milling unit.
The interplay between material science, clinical needs, and laboratory techniques defines the success of dental prostheses. For dental professionals and students, mastering this relationship ensures predictable outcomes, patient satisfaction, and long-term restoration success.
Key Takeaways: