For dental students, mastering the use of an apex locator is crucial for successful root canal treatment. This tutorial will guide you through the essentials of apex locator usage, including its integration with advanced endodontic motors that combine apex locating and file preparation in one system.
What Is an Apex Locator and Why Is It Important?
An apex locator is a device used to determine the working length of a root canal by identifying the root apex. The accuracy of this measurement is critical for avoiding over-instrumentation (which may damage periapical tissues) or under-instrumentation (which leaves untreated infected tissues). Modern apex locators utilize electrical resistance to identify the apical constriction, offering precision that surpasses traditional radiographs.
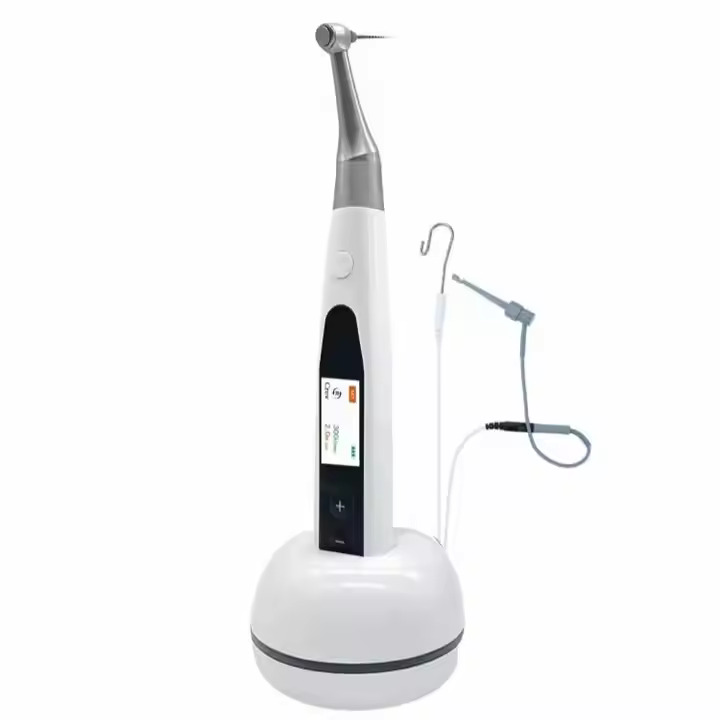
Understanding Two-in-One Endo Motors with Built-in Apex Locators
Advanced two-in-one endodontic motors combine a rotary motor and an apex locator into one device. This innovative setup streamlines the root canal process by allowing simultaneous cleaning and measuring. These devices provide real-time feedback: as the file approaches the root apex, the system signals you, often with an audible alert or screen indicator.
Benefits of two-in-one systems:
Saves time and eliminates the need for separate devices.
Provides continuous monitoring of file position.
Reduces the risk of errors, ensuring safer and more efficient treatments.
Step-by-Step Guide to Using an Apex Locator
Preparation and Setup
Ensure the tooth is isolated with a rubber dam to maintain a dry working field. Moisture can interfere with the apex locator’s accuracy.
Open the root canal properly to allow free movement of the file.
If using a two-in-one motor, ensure the device is fully charged and calibrated.
Initial Measurement with the Apex Locator
Attach the apex locator’s lip clip to the patient’s lip.
Connect the file clamp to the selected hand file or rotary file.
Insert the file gently into the canal and advance it toward the apex while observing the device’s screen or listening for alerts.
When the file reaches the apical constriction, the apex locator will indicate the position (e.g., by displaying “0.0” or a similar signal).
Confirm and Adjust the Working Length
Remove the file and use a measuring ruler to record the length.
Adjust the file’s rubber stop to this exact measurement.
Engage the Two-in-One Motor for File Preparation
Switch the device to its rotary mode and confirm the working length is locked in the system.
Use the motor to clean and shape the canal, checking the apex locator readings periodically for accuracy.
As the file approaches the apical constriction, the system will alert you, ensuring you stay within the safe zone.
Irrigation and Verification
After completing the canal preparation, irrigate thoroughly to remove debris.
Re-check the working length with the apex locator to ensure precision before obturation.
Tips for Success
Keep the canal moist but not flooded: Excess moisture may affect the accuracy of the apex locator.
Don’t force the file: Resistance near the apex indicates that you’ve reached the constriction.
Regularly clean the file: Debris on the file can interfere with readings and treatment.
Looking for a reliable apex locator that integrates smoothly with an endo motor? Dental Lab Shop offers the perfect solution for dental professionals and students alike. Our Single M9 Model on Apex Locator works seamlessly with the 2-in-1 endo motor system, combining precision and performance to deliver exceptional results in endodontic treatment. Designed for efficiency and ease of use, this integrated system helps you achieve optimal outcomes — all in one place.
By incorporating an apex locator into your root canal workflow, and leveraging the efficiency of two-in-one endo motors, you can achieve greater precision and improved treatment outcomes. These tools not only simplify the process but also enhance safety and reduce patient discomfort. With practice and attention to detail, you’ll master these techniques and boost your confidence as a dental professional! 😊
Comments are closed
Health Me Plus is your go-to health blog for trusted tips, expert advice, and easy wellness guides. Discover articles on fitness, nutrition, mental health, skincare, and healthy living all designed to help you feel your best every day. Stay informed, stay healthy with Health Me Plus!